Showing posts with label breakfast. Show all posts

Sunday, May 21, 2017

Golden Dumplings

This recipe is definitely blog worthy.  So, here we go.

This recipe originated from an Instant pot cookbook I bought called "The Instant Pot Pressure Cooker Cookbook" by Virginia Hathaway.  I give her all the credit, but I have made quite a few tweaks.  If you don't have an Instant Pot, I am guessing this could be tweaked for a crock-pot.

This dish is a cross between a cobber and doughnuts in our house.  My kids love it and they feel like they are getting a major breakfast treat.

The original recipe does not include fruit so I changed that. :-) 

Golden Dumplings
2 cups organic King Arthur all purpose flour
3 tsp baking powder, without aluminum
7 Tbsp Kerrygold salted* or raw butter (which is almost 1 stick of butter)
2 eggs, farm fresh
1/4 cup raw milk
2 Tbsp lemon juice
3/4 cup real maple syrup
4 Tbsp butter, additional
2 cups water
Fruit of choice (cherries, peaches, blueberries, etc)
(*If you don't use salted butter, add 1 tsp sea salt.)

1.  In the large bowl of your Kitchen-aid, fitted with the paddle mixer, place flour and 7 Tbsp of butter.  Mix until well combined and crumbly.
2.  In a separate bowl whisk eggs and milk with a fork
3.  Add egg mixture to the flour.  Then add lemon juice.  Mix.
4.  Once dough starts to stick to paddle, turn Kitchen-aid mixer off.
5.  In the bottom of the pressure cooker, combine the maple syrup, butter and fruit.  Bring to a boil on the saute mode.  Then turn off.
6.  Add water.
7.  Roll dough into golf ball sized dumplings and drop dumplings into fruity-syrupy goodness.
8.  Cook on Low Pressure for 5 minutes.
9.  Allow IP to NPR (natural pressure release).
10.  Enjoy with a big glass of raw milk!

I would like to eventually swap out half of the AP flour with sprouted.  It's on the "to do" list. 

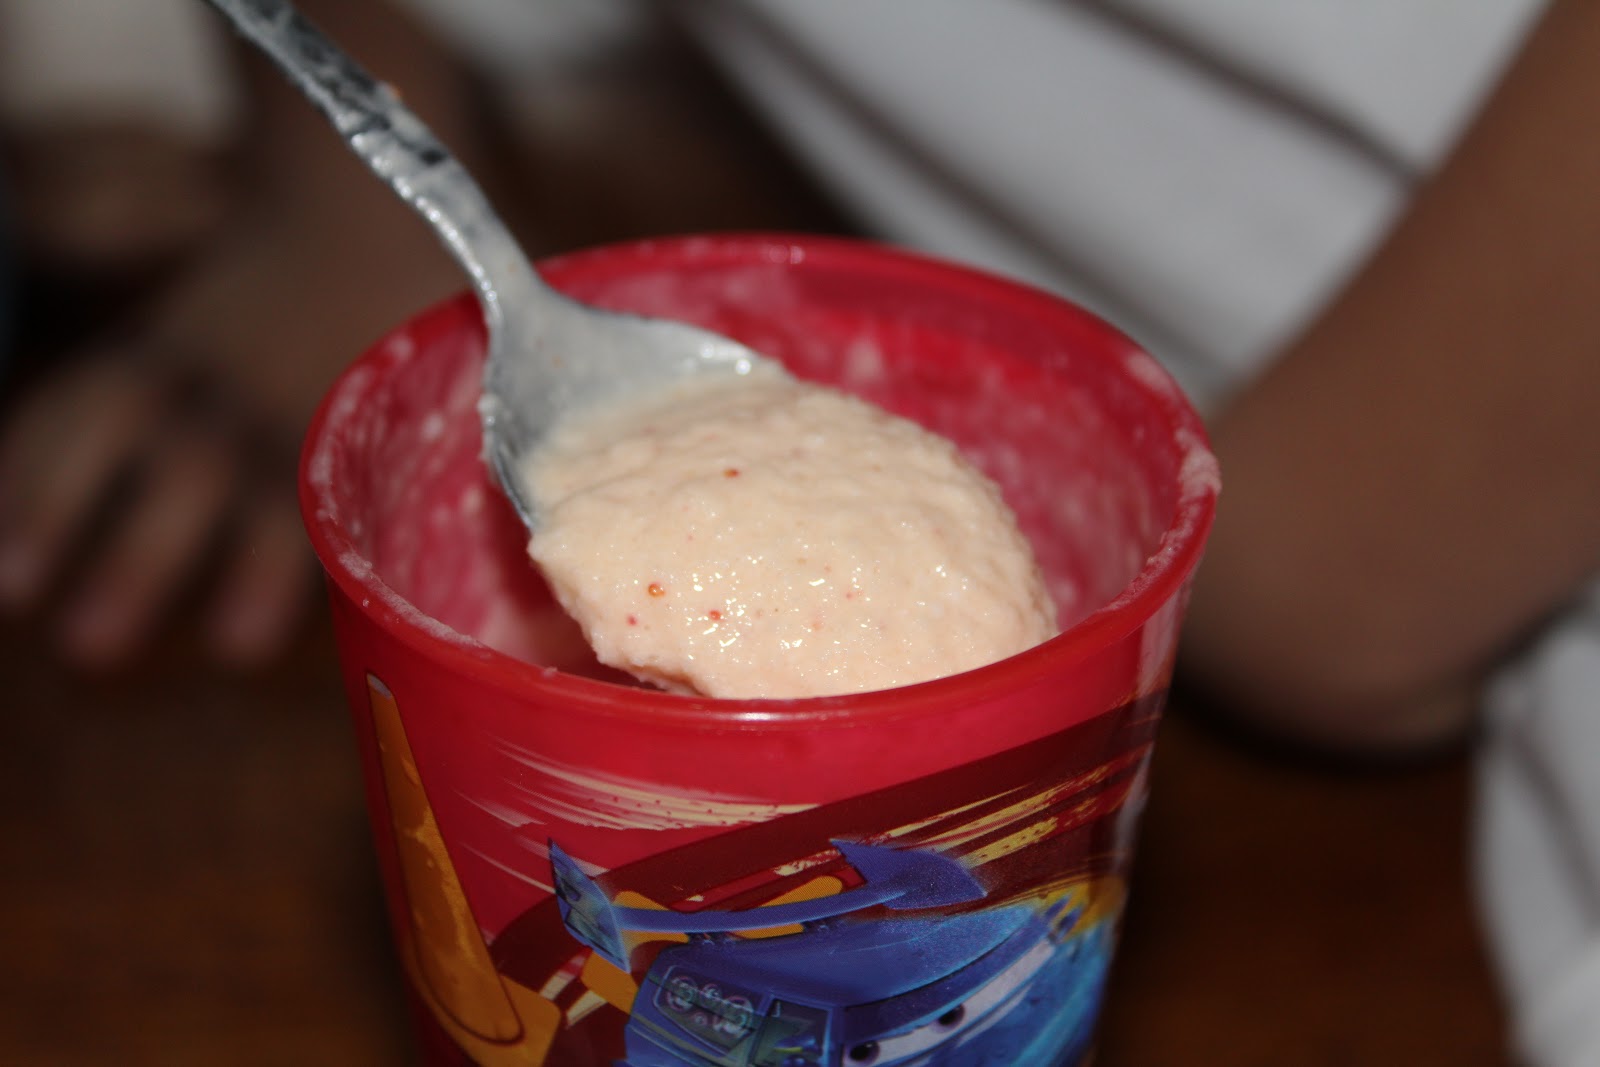
This is what is left.

This is what the kids bowls looked like.

Enjoy!  Post comments if you make it.


Saturday, March 1, 2014

Saturday Morning Sourdough French Toast

My close friends know when it comes to Saturday mornings, don't bug me.  ;-)

Saturday mornings are special for us.  I make a big breakfast, we watch T.V. and hang out together.  I don't like to go anywhere.  I LOVE making a big breakfast.  This used to be every day of our lives before my oldest son started school.  Not going to lie, I miss those days. 

So, for the past week my oldest son keeps asking for French Toast.  I laugh, because it has been forever since I have made us French Toast.  I am surprised he can even remember those days.  But he does have a memory that amazes me, so, really, I shouldn't be surprised.

So, this is what I made this morning and it was so delicious, I had to share.  

Saturday Morning Sourdough French Toast
2 farm fresh (not grocery store) eggs, beaten
1/2 cup milk (Whole, Organic or RAW)
1 tsp homemade vanilla (click here on how to make it yourself....super easy)
Pinch of Redmond's sea salt
3/4 tsp of organic cinnamon (more or less to taste)
Bunch of KerryGold or RAW butter, melted in your cast iron skillet
4-6 slices of sourdough (ours was a little old and dried out and was perfect for this)

Beat eggs, milk, vanilla, salt and cinnamon until well blended (I just use a fork or whisk).  Heat your cast iron skillet and butter that skillet up with real butter (if your butter is white, it is not real.  sorry, even if it's organic).  

Dip 1 slice of bread into egg mixture, flip, coating both sides of bread, hold the soaked bread over your egg mixture bowl for a few seconds letting the excess egg mixture drip and then carefully place in your hot skillet with all that amazing butter and cook until golden brown, flip, repeat.  (Think butter is bad for you?  PLEASE read this and this and this.)

And since organic strawberries are finally making a comeback here, I served our French Toast with a bunch of sliced organic strawberries, maple syrup and a couple dashes of powdered sugar (hey, it's Saturday morning.  :-)  )  And of course a BIG glass of RAW milk from Pasture's Delights

ENJOY!!!

Happy Eating!!!!


It is not Grade B (which is the best) but it will do.  :-)

Kerrygold Salted Butter


Friday, August 23, 2013

Homemade Breakfast Patties

This is something I have wanted to try for a long time.  But, to be honest I have spoiled my kids.  They love the shape and size of the tiny breakfast patties you can buy pre-made (and think about how much more pure and healthy these are, being homemade) and hate my hand shaped mini patties.  I guess there is something to say about uniformity. Anyway, I started to research and I found this.  Isn't it cute?  Oh, how much do I love Amazon??  A lot.  :-)

Unfortunately, for you, as of today this patty maker is out of stock.  But keep your eye on it and hopefully they will get more back in stock.  I only paid $7.99 for this one.  So, I would hold out for a bit and see if they get them in stock.  Otherwise, if you don't mind paying $12.95 you can get this one.  Which looks great too.

So, of course I bought my ground turkey from Becker Farms.  Remember this post about Kyle and Emily Becker.  (a.k.a. the best place to buy all of your meat! :-)  ).

I used one pound and made 9 patties.  I wish I would have made a couple of them thinner, so I probably could have had a total of 10-11 patties.

Homemade Breakfast Patties
1 pound local raised ground turkey, chicken, or hog
Redmond's Sea Salt or Celtic Sea Salt
Black Pepper
Cast iron skillet
Small patty press

I would put about 1 1/2 - 2 rounded teaspoons of ground turkey in each patty maker press.  You don't want the meat to the top of the press, but just below.  All I did was sprinkle the patties as they were cooking with salt and pepper (you can add a ton of different ingredients here, but I didn't want to lose my kids, so we went the simple route).  

You do not want to overcook them, so watch them carefully.  Remove from heat when you think they are done.  The patties will cook further when you take them out of the freezer and warm up for later breakfasts, keep in mind.  Of course, I cooked mine in a cast iron skillet, cause I think EVERYTHING tastes better cooked in cast iron.  I season my cast iron skillets with KerryGold butter.  It is the best way I have found to season a cast iron skillet.

Let me and my son tell you...they are DELICIOUS!!!  So, Kyle and Emily, I will be placing an order soon for more ground turkey and sausage!!

They are cooling right now, but after they cool I will place them in a glass Pyrex container and separate them with parchment paper for future breakfasts.  You can thaw them or simply place the frozen patties in your cast iron skillet, heat thoroughly and enjoy.


Enjoy!

And keep living GREEN,

Sunday, July 14, 2013

Sourdough English Muffins from Five Little Homesteaders

This needs to be filed in a safe location for future use, thought my blog would be a great place.  :-)

Five Little Homesteaders: Pantry Revamp: Sourdough English Muffins: This recipe for  sourdough english muffins  is part of the Pantry Revamp series here on Five Little Homesteaders.  To read more about it, ch...

Keep trying to live green, 

Monday, January 21, 2013

I Have a Love-Hate Relationship

I have a love-hate relationship with coffee.  I love to drink coffee.  Coffee hates me.

After I drink it I have this nauseous sensation that doesn't leave for at least half of a day.  It's one of those relationships where as I am sipping my coffee I am thoroughly enjoying every sip.  Then when I have finished the cup (or sometimes even before I have finished) I have the thought that goes a little something like this........."WHAT WAS I THINKING?!?!"  Can any of you relate?  The reason??  Caffeine increases stomach acids levels.  Even decaf.

The Healthy Home Economist wrote a blog post a while ago about the effects caffeine has on us.  After I read that I was OK with the fact that coffee and I don't have a great relationship.  Even though I only drink decaf.  Decaf coffee still has enough caffeine in it to upset my stomach.  It is a GREAT article if you are a caffeine lover and even if you're not, read it here.  (P.S. Have I told you how much I love Sarah Pope, who is The Healthy Home Economist?  I do.   ;-) )

So, I found this little love....

Teeccino Maya Herbal Coffee.  It is USDA organic, naturally caffeine free and non acidic herbal coffee.  The one I bought was Chocolate Organic.  They describe it as a "velvety chocolate with a hint of heat from chilies."  They use carob, which is caffeine free.  It does have some organic cocoa in it, so it has to have a small amount of caffeine.  But my tummy can tell you, it can't be much.

I think I bought this at Whole Foods, so you can buy it here on Amazon or even at EarthFare, I would imagine.  On Amazon it is $12.38 for 1 11 oz bags or $24.00 for 3 bags, which equates to $8.00 per bag.  I think I paid somewhere around $9.00 at Whole Foods for 1 bag.  I also bought my tea infuser here, that I obviously use for coffee.  :-)  And I LOVE it!

It is delicious.  I added a little coconut sugar and raw milk to mine this morning.  And the great part for me is, when I get distracted from my hot "coffee" and I go back to it ice cold...it is still delish!  ;-)  (Hey I was proud of myself, I had 1 load of laundry done, living room and kitchen floors vacuumed and kitchen mopped by 9 a.m.  What?!?  ;-) )

And for those of you who want to detox away from you coffee addiction, this is a great substitute for you coffee.  They even make the comment on the package that says "Kick the caffeine habit in 2 weeks!  Begin brewing 3/4 coffee to 1/4 Teeccino.  Gradually decrease coffee and increase Teeccino until you are caffeine-free!"  

The side of the bag give you instructions on all the different ways to brew and what amounts you need.

Soooo.....GO GET SOME!  :-)

Here are additional coffee substitute ideas from...once again...Sarah Pope, The Healthy Home Economist.  


Friday, November 9, 2012

Make It and Eat It Now Cereal


I am eating this as I type.  It was the easiest and quite possibly one of the most delicious breakfasts I have prepared, and it is raw (which means super healthy and good for you).  Got 3 minutes?  Then you can make a VERY healthy breakfast cereal for you and your family.  

Make It and Eat It Now Cereal
Organic apple (I used honeycrisp...our favorite! Any will work)
Soaked and dried almonds (can use anything here cashews, pecans anything soaked)
Organic Cinnamon
Raw milk or coconut milk (no soy...ever!)

Chop up your apple, place in a bowl.  Chop up your almonds, place in bowl.  Sprinkle with cinnamon and pour milk over the top.  Use as much or as little of the 4 ingredients you want.  And eat.  :-)  Soooooo, good!!!

Gonna admit, my 3 year old spit it out.  He is eating the other half of the apple right now, by itself, and seems quite happy though.  Lol


*Recipe from Nicholas Johnson who posted this as a comment on Just Eat Foods FaceBook page.  Don't know ya Nicholas, but a HUGE THANK YOU!!!  :-)

Wednesday, October 31, 2012

Soooo Good Waffles

I forgot to take a pic of it before I over half way devoured it. Lol

I am always looking for a delicious and healthy waffle.  Guess what?  I found one.  Here it is.  My kids loved them!

Waffles
1 1/4 c freshly ground spelt or homemade all purpose (half whole wheat and half barley) I used my homemade all purpose this time
Clabbered raw milk, plain organic yogurt and water or org buttermilk(I used clabbered raw)
2 free range eggs
2 tablespoons grade b maple syrup
Pinch of sea salt (Celtic or Redmonds)
Butter (Kerrygold, RAW or organic)

12-24 hours before you want to eat your waffles place the flour in a glass bowl.  Pour enough clabbered milk, stirring slowly (or organic buttermilk or a combination of plain organic yogurt and water) into the flour to just make it nice and moist.  Cover with a cheesecloth or white unbleached kitchen towel and secure with a rubber band.  Let glass bowl with wet flour set out on your countertop for 12-24 hours.

When you want to prepare your waffles, plug in your waffle maker, remove the cheesecloth from your glass bowl.  Stir in eggs, maple syrup and sea salt.  Then add enough additional clabbered milk, buttermilk or raw milk to achieve the consistency you want for waffles.  You want your waffle batter to be thicker than a pancake batter, keep in mind.

Place butter on a wooden spoon or knife and butter your waffle iron.  Pour batter into iron. My batter was way toooooo thin this morning so I had to cook mine for a loooong time.  

Keep in mind this recipe is not a "win 1st place at a beauty pageant" type of waffle recipe.  And your waffles may not come out as firm as you are used to feeling....but let me tell you, it received a blue ribbon from this judge on flavor!  :-)

And also, I am not proud that I use a teflon waffle maker, not proud at all, but it is what we have right now. :-(

**Always use the ratio of...for every 1/2 cup water use 1 tbsp yogurt when soaking grains or flour.  And ALWAYS ALWAYS ALWAYS soak your grains and flour for 12-24 hours before eating them.


Adapted from Kitchen Stewardship An AWESOME blog!

Monday, October 22, 2012

Easy Breakfast to get Coconut Oil in your Kids

Morning Smoothie in a Cars cup.  :-)
This was sooooo easy, the boys are devouring it so I had to share.

Morning Smoothie
Frozen organic mango
Frozen organic strawberries
Heaping tablespoon of virgin, unrefined, expeller pressed organic coconut oil
Raw milk (or organic milk if you haven't taken the RAW milk challenge :-) )
Chia seeds (and if anyone local wants some I have a ton I am willing to share)

Place in your regular size bullet cup, blender or food processor and blend away.  Serve.

So YUM!!!!

And a MUST make when your kiddos or you are sick.  MANGO is a cold fighter.  And coconut oil is an infection fighter.  Chia offers antioxidants.  Sooo cool.


Enjoy!


Tuesday, September 25, 2012

Homemade Cold Breakfast Cereal - so easy and soo good!

Beautiful.
After I read this, we ate what cold boxed breakfast cereal we had in the house and made the decision to not buy any more.

This recipe is so easy it's ridiculous and it is DELICIOUS!!!  I have tweaked it a bit from what the above link shows.  :-)


Homemade Cold Breakfast Cereal (grain)
6 cups freshly ground spelt flour
Yogurt, clabbered REAL milk or whey (I don't measure, I just pour enough into my 6 cups of spelt, stirring until it is all wet

Mix fresh spelt flour with any of the above mentioned ingredients in a large glass bowl.  Cover with a clean, non-bleached towel or cloth and secure with a rubberband.  Let sit on countertop for 24 hours.

After soaking is complete, mix in the following ingredients:
3/4 cup unrefined, expeller pressed, organic coconut oil (use a stainless steel measuring cup, then place the measuring cup in warm water and allow the coconut oil to soften, if needed)
1 cup Grade B maple syrup or raw honey
1 tsp sea salt
2 tsp baking soda
1 tsp vanilla extract (homemade preferably)
1 tsp almond extract
1-2 tbsp organic cinnamon (or more)

Mix these ingredients well into the soaked batter.  I have 2 of the large bar pans from Pampered chef and they work perfectly.  I pour the batter evenly in the 2 large bar pans.  And bake at 350 degrees F for 20-25 minutes, until batter turns golden brown and becomes a coffee cake consistency.  

(You have another option here if you would like...cut the coffee cake into 2x2 squares, or whatever size you would like, wrap in bpa free plastic wrap and store in the refrigerator or freezer.  Thaw and warm in the toaster oven for a few minutes and you have a quick out the door breakfast or snack!)

Let coffee cake cool and break it up into small pieces and spread out over your baking sheets you used.  You decide the size of pieces you like.  Anything works here.

Place both bar pans back in the oven with crumbled coffee cake pieces spread out as evenly as you can get them.  Bake at 200 degrees F for 2-3 hours, stirring occasionally to bring the pieces on the bottom to the top for even drying.  Remove from the oven when the pieces are starting to feel crunchy.  You don't want to bake too long here and chip a tooth.

Store in an airtight glass container in the refrigerator.  Serve with REAL milk and organic fruit.  Soooooo YUM!!!

If you like to watch videos, watch The Healthy Home Economists video about cold cereal here, but SIGNIFICANTLY decrease the final bake time as I mentioned above in recipe.


With Coconut chips and chia seeds.
A batch makes close to 3 of these.  They are 1/2 gal size.


*Recipe adapted from Sarah from The Healthy Home Economist.  An AMAZING blog!

Wednesday, August 22, 2012

Almond Pancakes----Oh my!


So, I haven't made pancakes for a while.  Unless the flour is soaked over night, I don't want to feed pancakes to my kids.  So, Friday night I was standing at my cookbook pondering over which flour I was going to soak and which recipe I was going to make the following morning for our Saturday morning BIG breakfast.  And I was pleasantly surprised to find an almond flour pancake recipe that I did not need to soak.  Why you ask did I not need to soak this flour?  Answer:  I had already soaked the almonds and dried them.  So, all I had left to do was grind the almonds into a flour before making breakfast and we would be eating.

Let me tell you...this pancake recipe is DIVINE!  It is a very rich pancake, I could only eat two (that's not much for me normally) and I was full.  My 5 year old loved them and my 2 year old told me "yuck."  I don't think the 2 year olds palette is quite developed enough to enjoy the grain-less beauty these pancakes provide.  ;-)

So, here it is.  Let me know if you try this and what you think.


Almond Pancakes
1 cup finely ground almond flour from soaked and dried almonds that you prepared
1 Tbsp raw honey or 5 drops of liquid stevia
2 Tbsp expeller pressed coconut oil, softened
Splash of pure vanilla extract
1/4 tsp sea salt
1/4 cup seltzer water in clear glass bottles
2 eggs from free range chickens (ours come from the Amish)

Grind your almonds is a food processor or blender.  I used my bullet and I still had some small pieces of almond in the flour.  Next time I am going to try my food processor.  

Mix all the above ingredients together and cook on a griddle or skillet on medium heat in a small amount of butter or expeller coconut oil.  Serve with Grade B maple syrup or raw honey and butter.  Remember these pancakes do not flip like regular pancakes, you have to be pretty gentle when you flip these.  And hey, if they fall apart upon flipping, they will still taste AAAAMAZING!  :-)

This recipe made about 5-6 pancakes.  Double if needed.  :-)


*Recipe adapted from The Healthy Home Economist


Saturday, February 11, 2012

Homemade Sweet Cinnamon Biscuits

This is a quick, Saturday morning breakfast treat.  It does not require yeast, so there is no waiting for your dough to rise.  Don't expect the same texture and flavor you get from a traditional cinnamon roll. But these are still the bomb!  And I got to sleep in and still made sweet biscuits for breakfast...win win! :-)


My boys love cinnamon rolls, but I will not buy Grands anymore, knowing what I know.  I don't want to give them anymore junk in their diet than I need to.  So, we occasionally buy the Immaculate Baking cinnamon rolls from Whole Foods, but they cost a bit.


So, I found this recipe in my 2 inch "A-L" binder and thought I would give it a try.  It was super easy to make.


Sweet Cinnamon Biscuits (or any filling you prefer)
2 cups sifted organic-all purpose flour (I love King Arthur)
1 tablespoon baking powder (always buy aluminum free and non-gmo if you can)
1 teaspoon salt
1/4 teaspoon baking soda
1/4 cup organic canola oil
3/4 cup buttermilk (or buy the Organic Valley dry buttermilk blend, use 2.5 tbsp and 3/4 cup water.  LOVE this stuff!!!)
2-3 tablespoons organic butter (Meijer organics is great.  Softened.)
3/4 cup granulated sugar
1 teaspoon cinnamon
(I have a bunch of Pampered chef sprinkles, Sweet mocha hazelnut sprinkle and sweet caramel sprinkle that I am using instead of the 3/4 cup granulated sugar and 1 tsp cinnamon.)


Icing
1 1/4 cup confectioners sugar, sifted
2 tablespoons organic milk
1 teaspoon pure vanilla extract (not artificial)


1.  Combine sifted flour, baking powder, salt and baking soda in a medium bowl and mix well (I used my kitchenaid bowl).  Stir in organic canola oil.  Add buttermilk or buttermilk blend and water and stir just until blended.


2.  Place bread kneader attachment on your kitchenaid stand mixer and let place on 2nd speed.  Let the machine do the kneading for you.  Sprinkle a little bit of flour in the mixing bowl as the attachment is kneading, until you see the dough pull away from the sides, cleaning the bowl.  Dough should look smooth.  Remove dough and roll out on a lightly floured surface making a 15 x 8 inch rectangle.  (If you do not have a kitchenaid stand mixer knead the dough on a lightly floured surface until smooth.  Then roll dough into a 15 x 8 inch rectangle.)  


3.  Preheat the oven to 400 degrees.  Spray a cast iron skillet or a 9 inch round baking pan lightly with organic olive oil.  (Aerosol Pam is bad.  You can buy a mister from Pampered Chef and make your own spray oil!)


4.  Spread softened butter over the dough with a pastry brush.  Combine granulated sugar and cinnamon in a small bowl and mix well.  Sprinkle over butter.  Or sprinkle your Pampered Chef sprinkles over the butter. 


Roll up rectangle, jelly roll fashion, starting from one long side.  Pinch seam to seal.


5.  Cut the roll into 1 1/2 inch slices.  Arrange the slices in your prepared pan.  Bake until lightly browned, about 15-20 minutes.  Remove from the oven.  The recipe says you call pour milk over the top, never heard of this.  So, I made the icing above.  

They taste great and are quite beautiful!  I had mine with a glass of vanilla rice milk (I have almost given up dairy), sooo good!


Enjoy!

Thursday, January 12, 2012

Turkey Breakfast Burrito from The Biggest Loser

I thought this recipe looked pretty good.  Let me know if you try it.  I'm planning on trying it for our Saturday morning breakfast.  


BREAKFAST BURRITO AND BEYOND

Makes: 8 servings 
Prep time: 10 minutes 
Total time: Under 30 minutes


Burrito Turkey Mix 

Ingredients: 
1-1/4 pounds extra lean ground turkey breast
1/2 cup wheat bran, if desired
1-1/2 cups canned black beans (Eden Organic brand if using canned or use dried beans....NO BPA this way.)
1/2 cup unsweetened organic apple sauce
1/2 cup organic green bell peppers, diced
1/2 cup organic red bell peppers, diced
1 egg + 1 egg white, free range and organic if you can
1 teaspoon chili powder
1-1/4 teaspoon garlic powder
1-1/4 teaspoon onion powder
1-1/4 teaspoon paprika
1 teaspoon salt, if desired
1/2 teaspoon black pepper 

*Optional Convenience Tip: Replace all spices with Annie's Eats Homemade Taco Seasoning Recipe (another great blog!) 

Directions:
Mix all seasonings really well into turkey breast. Then put in the egg, egg white, apple sauce and the wheat bran, and stir very well. Let it sit for half an hour or overnight covered in the refrigerator, minimum 15 minutes. Spray the pan, add the ground turkey mix, brown it and break it up into pieces with a wooden spatula while in the pan. Add chopped bell peppers and sauté with meat for about 5 minutes, continuously breaking up the turkey into smaller pieces. Drain the beans, and then add to the pan. Cook for another 2 - 3 minutes. 

Optional Add-ons:
  • 1 ounce shredded light cheddar cheese (45 - 60 calories) (no Rbgh in the cheese)
  • Fresh Salsa (Meijer makes a great organic salsa in glass)
  • Guacamole
  • Lime Juice
  • Hot Sauce to taste
Next: 
Spray pan with cooking spray and scramble 2 egg whites. (34 calories, 7grams protein) 

Serve with one of the following:
  • 2 organic corn tortillas or 1 large whole wheat tortilla (80 calories, 5 grams fiber)
  • 1 piece whole grain toast (80 calories, 5 grams fiber)
Side: 
Add 1/2 cup fresh raspberries (32 calories, 4 grams fiber)


TOTAL for the entire dish (Burrito, side of egg whites, raspberries):
296 calories, 14 grams fiber, 29 grams protein 

Nutrition Label per 1 serving of burrito filling:
burrito-nutrition.jpg

Versatility and Portability of this Recipe
  • This turkey mix recipe is a protein-packed staple with great versatility and portability. Make a batch, use half for the breakfast burrito and save the rest for other quick and easy meals. Or cook half as burrito mix and make turkey patties with the rest. The possibilities are endless!
  • Wrap a patty in tin foil, pair it with a fruit and you've got the perfect on-the-go snack solution. (Same thing people do with string cheese).
  • Use the turkey patty as a healthy protein to add to a green salad for lunch.
  • Pack some of the turkey mix in tupperware and also use it to top a salad for a quick and healthy lunch.
  • Make patties in bulk in advance and freeze them, wrapping each one separately, so you have several quick prep on-the-go meals on hand. A few minutes in the microwave and they're ready to be eaten on your way out the door.
  • Keep some leftovers for dinner. Add some brown rice and cooked vegetables, and you've got a perfectly balanced, healthy and delicious meal.


Adapted from The Biggest Loser NBC Website (My changes are use organic where you can.  And know where your meat comes from.)

Popular Posts

Total Pageviews